
Quick Guide
- Choose Brant’s new-Arisen topic at night, rest at the inn, then return to him.
- Follow the departure marker east of Malachite Forest.
- Use the expansion-specific riddle summaries; the complete ending route remains unverified.
Dragon's Dogma 2 Dark Arisen walkthrough: start Chilling Tidings through Brant's nighttime dialogue in Vernworth, rest at the inn, and return to him for the next travel objective. Follow the quest marker to the expansion's departure point. After arriving, prepare in the settlement before pursuing the sage and her three riddles. This guide covers the reviewed opening and Sphinx stages, not a verified complete ending route.
On this page
Dragon's Dogma 2 Dark Arisen walkthrough: start the journey
At night, speak to Brant and select the topic about the new Arisen. The existing DLC entry guide explains the two new dialogue options and their recommended levels. The expansion story route uses Chilling Tidings; the uncovered-ruins option is a separate branch and should not be substituted for the travel objective.
The supplied starting-tips footage continues the process: rest at the inn, experience the nightmare sequence, and speak to Brant again. Then follow the new travel objective to the pickup east of Malachite Forest, across the river from Vernworth, as shown in the map below. The source describes a departure NPC beside a Griffin; follow the active quest marker before accepting the journey.
Confirm progress through the journal and the next objective rather than simply visiting the tavern. Accepting a quest is the first step; arriving in the new region follows later interactions. Recommended levels are recommendations, not demonstrated hard locks on quest acceptance.
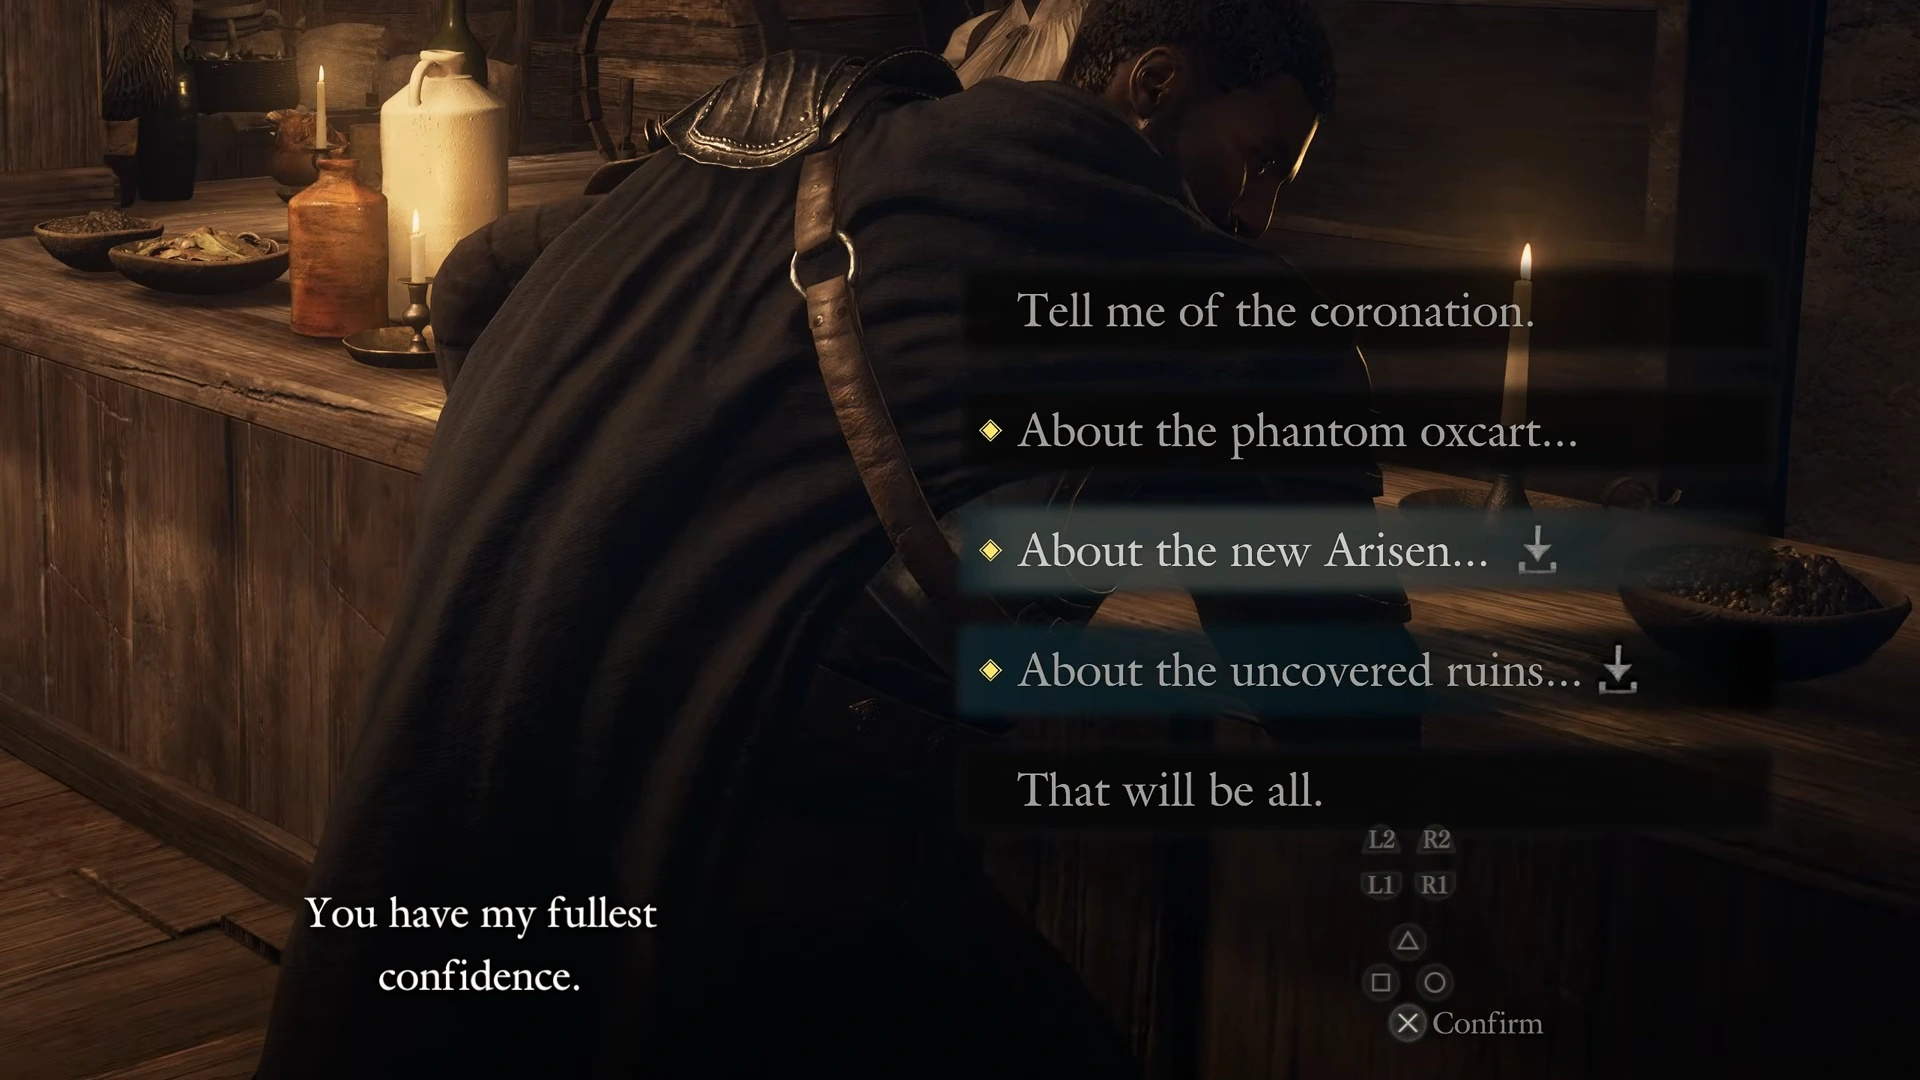
Starting-tips video at 0:32; use the new-Arisen topic for the expansion story route. Native 1920×1080 frame; no player controls or upscaling.
Original video creator · Source / open if playback fails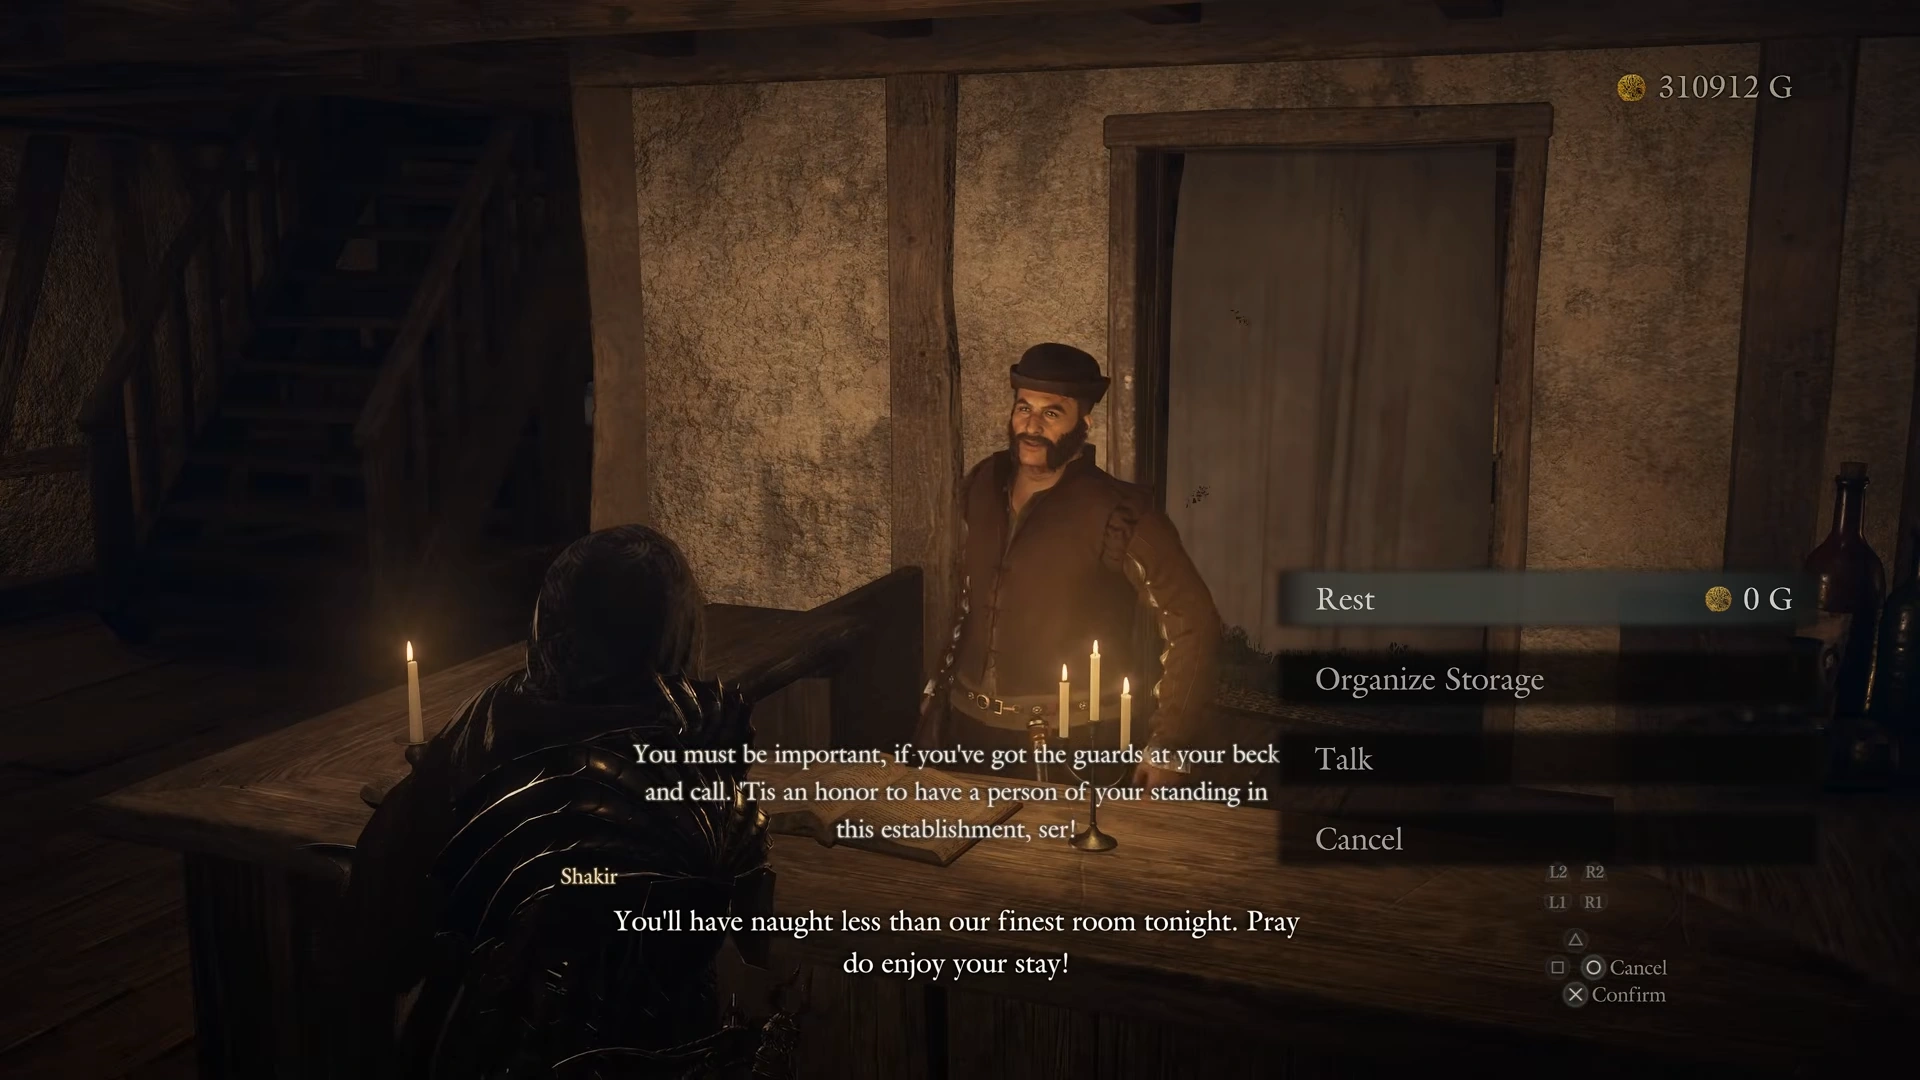
Starting-tips video at 0:39; this particular story rest is shown as arranged by Brant. Native 1920×1080 frame; no player controls or upscaling.
Original video creator · Source / open if playback fails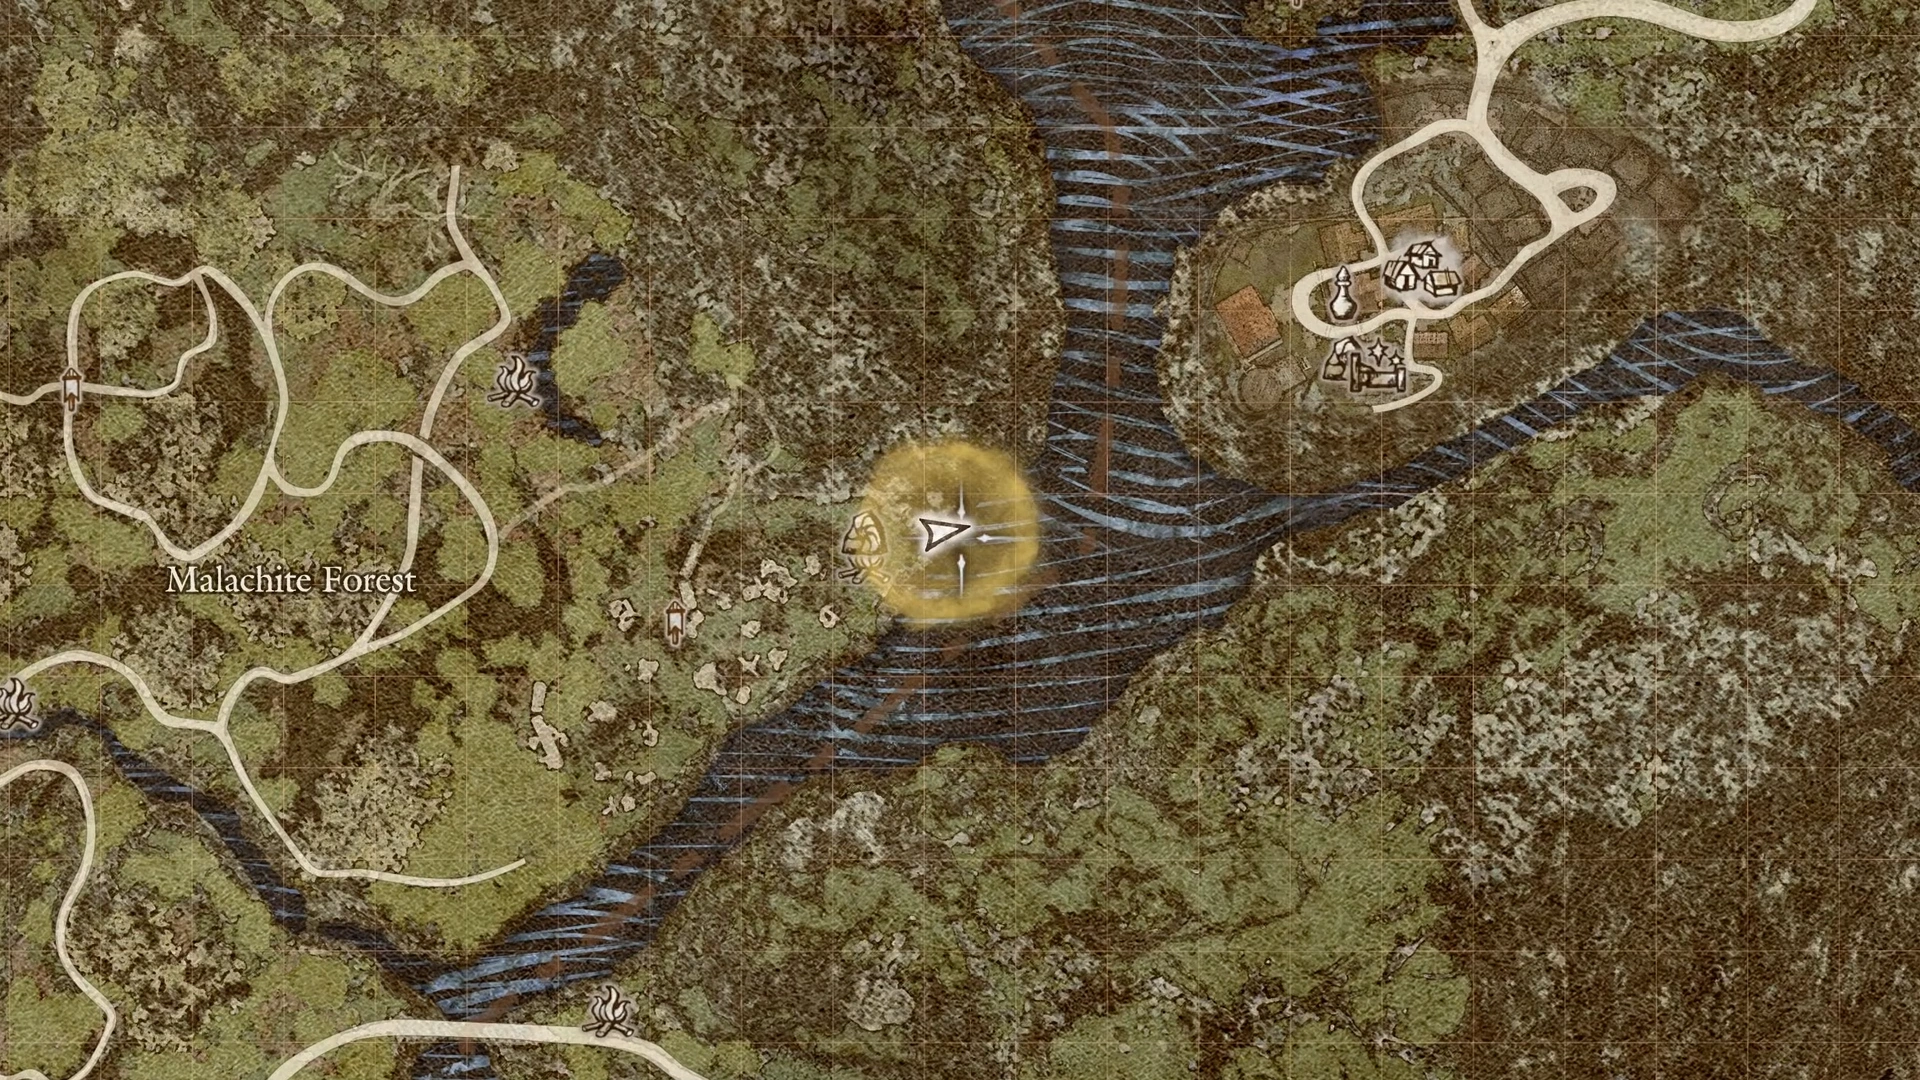
Starting-tips video at 0:52; follow the active quest marker to the departure point. Native 1920×1080 frame; no player controls or upscaling.
Original video creator · Source / open if playback failsReviewed source chapter; manual playback only. Original source link remains available if the embed fails.
Original video creator · Source / open if playback failsPrepare in the settlement before pursuing the main story
Once you arrive, talk to the settlement's NPCs and follow the introductory objectives. The supplied tips video highlights equipment appraisal and manufacturing as useful early activities. Those systems can help you prepare, but they are not evidence that every existing weapon instantly becomes unusable.
The source describes unidentified equipment as relics and shows appraisal converting those finds into usable gear. Review what you actually receive before replacing your equipment. Random drops in one creator's run do not establish a guaranteed reward, fixed rarity, or universal best item.
Some equipment has a special-skill icon and modifies how a weapon skill behaves. Read the item description and check whether the effect suits your current vocation. This page does not generalize one Thief or Mage example into a complete expansion equipment catalogue.
The video also describes a manufacturing introduction involving a Winterweed Blossom collected at night. Its name and quest interaction require the corresponding UI check before being treated as a mandatory progression step. Follow the settlement's active requests, and keep optional equipment preparation separate from the main story.
Finding the sage and following the Spirit Compass
The supplied Part 1 material and dedicated riddle guide describe a main-story stage called Seeking the Sage. The settlement dialogue directs the player to a tower for a Spirit Compass. Collecting that item gives a navigational lead toward the sage instead of requiring you to guess a destination from a transcript's place-name spelling.
The riddle guide describes travelling through a stronghold and climbing toward the Shrine of Wisdom. Use the quest marker, compass, and local map together when checking the route. Several names are inconsistently transcribed, so unreviewed spellings are not used here as reliable map instructions.
On meeting the Sphinx, hear all three riddles before leaving. The guide says they create individual quest objectives and can be pursued in different orders. Talking to the settlement scholar provides further clues; exact dialogue labels should be matched against your quest UI.
The riddle of the body: follow the dawn clue
The body riddle points to a giant and a token proving the answer. The dedicated guide interprets the place of rest as the settlement inn and follows the clue by resting until morning. A reported roar and an updated quest marker then lead north toward the giant.
Follow the marked encounter rather than assuming any giant will supply the quest item. The guide's fight ends with the Mournful Giant's Tusk entering the inventory and the objective updating. Return to the Sphinx, choose the body-riddle answer, and hand over the required token.
The answer is the tusk, not an arbitrary monster drop. Check acceptance and the updated riddle objective to confirm success. Gold, experience, and chest contents reported in one run are not needed to execute the answer, so this page does not promise their numerical values. The item names in this riddle summary follow the supplied guide; exact in-game spellings remain Pending confirmation where not checked in a readable delivery menu.
The riddle of the will: retrieve the brooch
The will riddle concerns an object associated with resisting the dragon. The supplied guide says to ask the scholar about this riddle twice, after which the journal directs the search toward the mountain stronghold. Follow that objective and search the relevant area for the Decorative Brooch.
The guide reports a monster attack after picking up the brooch. It then shows the objective changing to escape and describes clearing the attacking group before leaving. This encounter is a reason to prepare for the return trip, rather than treating the item as an unguarded pickup.
Bring the brooch back to the Sphinx and use the will-riddle delivery option. The returned object and her acceptance are the meaningful completion checks. Do not substitute the base game's Sphinx riddles or their solutions for this expansion-specific item handover.
The riddle of the soul: use the underground route
The soul riddle leads toward a fortress covered by a persistent blizzard and an ice-worm encounter. The source describes asking around the settlement for the location, then using the fortress's floor maps to navigate. Poor visibility makes the map and current floor more useful than copying a long sequence of unverified turns.
A large door requiring two keys appears along the route. The dedicated guide explicitly separates the loot behind that door from the underground route to the riddle boss. It says those keys are not required for its demonstrated riddle solution, so this page does not send every reader on a key hunt first.
After defeating the ice worm, the guide obtains the Frozen Worm's Life Crystal. Return to the Sphinx and submit that item as the soul-riddle answer. The route's exact doors, ladders, and barricades still need readable map evidence before this overview can function as a room-by-room fortress walkthrough.
After the three riddles: story spoilers and coverage limit
Story spoilers begin here. The supplied riddle guide says that completing all three answers yields information about the fallen dragon and sends the player back to consult the scholar. The Part 1 transcript then discusses an ancient study and records connected with a lost castle.
That establishes the next story direction, but not every required action through the ending. The longer attachment wraps its displayed timestamps after ten hours. Checking the original video at 11:07:06 and 11:15:04 matches the late dialogue after adding ten hours to those wrapped labels; the entire route has not been audited.
Pending confirmation: the complete route beyond the reviewed Sphinx stage, late-story character and location spellings, irreversible choices, and ending conditions. This page deliberately stops its executable guidance at the demonstrated tasks. A full-game video title does not resolve those missing checks.
Travel preparation and version boundaries
The starting-tips material recommends keeping climbing hooks on hand and looking for newly introduced skill interactions. Treat those as preparation ideas tied to the expansion footage. They do not establish every shortcut's location or every vocation's current skill behaviour.
Follow your active journal objective when choosing between settlement tasks and the main story. Optional relic gathering, manufacturing, and companion activities should not all be promoted to mandatory prerequisites. If a required interaction is missing, compare the current quest stage with the immediately preceding step rather than skipping to an unreviewed ending chapter.
This walkthrough keeps expansion material separate from the base-game route and its ten Sphinx riddles. Names and routes supported only by noisy automatic transcripts remain pending until checked on screen. Use the existing DLC start guide for the entry dialogue and the base-game walkthrough for the original campaign.
Sources
Reviewed:
User-supplied expansion footage; opening and Sphinx stages, late timeline pending
User-supplied expansion footage; opening and Sphinx stages, late timeline pending; source claims and visual coverage audited separately.